Take a Passport Photo at Home With Your Phone (2026): Setup, Background, Crop, and Print Checks
Learn how to take a passport photo at home with phone camera settings that avoid blur, shadows, bad crops, and print-scaling mistakes. Covers setup, background, Passlens crop checks, digital upload, and printed photos.
Can You Take a Passport Photo at Home With a Phone?
Yes, many passport and visa workflows allow a photo taken on a phone, but the useful answer is narrower than that. You need someone else to take the picture, a plain background, even light, enough source resolution, and a final crop or print that matches the country rule. A casual selfie usually fails one of those checks.
This guide is for searches like take a passport photo at home with phone, phone passport photo, passport photo at home, and DIY passport photo. It keeps the capture step practical while still pushing you back to the issuing authority for the final rule.
| If you searched for | Start here |
|---|---|
| take passport photo at home | Use the phone setup below, then choose the exact country preset in Passlens. |
| take a passport photo at home with phone | Start with the phone camera setup for passport photos before you crop anything. |
| passport photo background at home | Use the background and lighting checks, then compare country-specific background rules. |
| print passport photo at home | Use the print guide after the crop is correct. |
| free passport photo maker | Use the free passport photo maker guide if you already have the source portrait. |
Do not start by cropping too tight
Several official photo workflows want the original phone photo to include head, shoulders, and upper body, then crop it later. Take the source image with extra room around the person, then use Passlens to size the final result.
Phone Camera Setup for Passport Photos
The phone camera setup for passport photos matters more than the exact phone you use. A recent phone can capture enough detail, but it can still produce a rejected photo if it is held too close, tilted upward, or forced into low-light noise reduction.
- Use the rear camera: it usually has better resolution and less facial distortion than the front camera.
- Ask another person to take the photo: some official workflows explicitly reject selfies or webcam-style captures.
- Put the camera at eye level: do not shoot upward from a desk or downward from above the face.
- Stand back: keep the camera roughly 1.2 to 1.8 m away so the face shape stays natural.
- Use a timer or steady hands: blur is easier to miss on a phone screen than on the final upload or print.
- Turn off beauty modes and filters: do not smooth skin, change face shape, alter eye size, or recolor the image.
- Save the original: keep the unedited file until the application is accepted.
Avoid wide-angle close-ups. They make the nose look larger, push the ears back, and can make the final crop feel wrong even when the outer dimensions are correct. Step back and zoom only if your phone uses a normal lens without degrading the image.
| Phone setting | Use this | Avoid this |
|---|---|---|
| Camera | Rear main camera | Front selfie camera when another person can help |
| Zoom | 1x or a real optical portrait lens | Digital zoom that softens the file |
| Flash | Off, unless you can avoid glare and shadows | Direct flash against a wall |
| Filters | None | Beauty, skin smoothing, portrait blur, stickers, or color effects |
| File | Original JPG, JPEG, HEIF, or HEIC where accepted | Screenshots, social-app downloads, or compressed message copies |
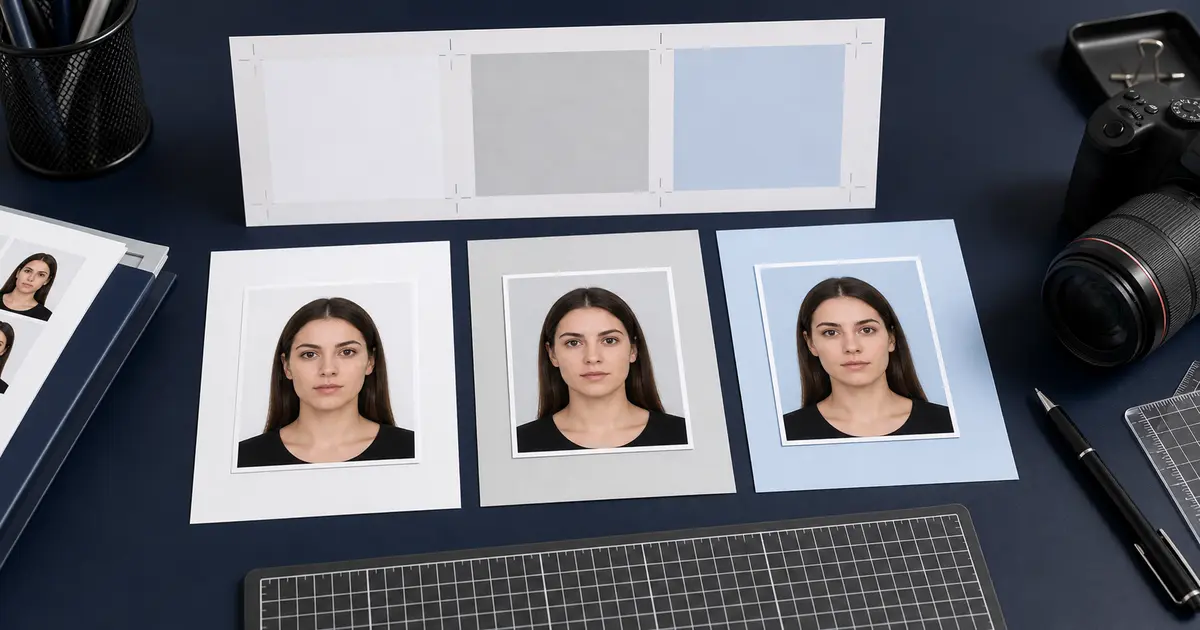
Background and Lighting That Survive the Final Check
A passport photo taken at home usually fails for ordinary reasons: a shadow on the wall, a textured curtain, uneven side light, or a white shirt disappearing into a white background. Fix those before opening any editor.
- Use a plain wall when possible: no wallpaper pattern, visible corners, door frames, switches, shelves, or wall art.
- Stand away from the wall: GOV.UK suggests standing about 0.5 m from the background to reduce shadows.
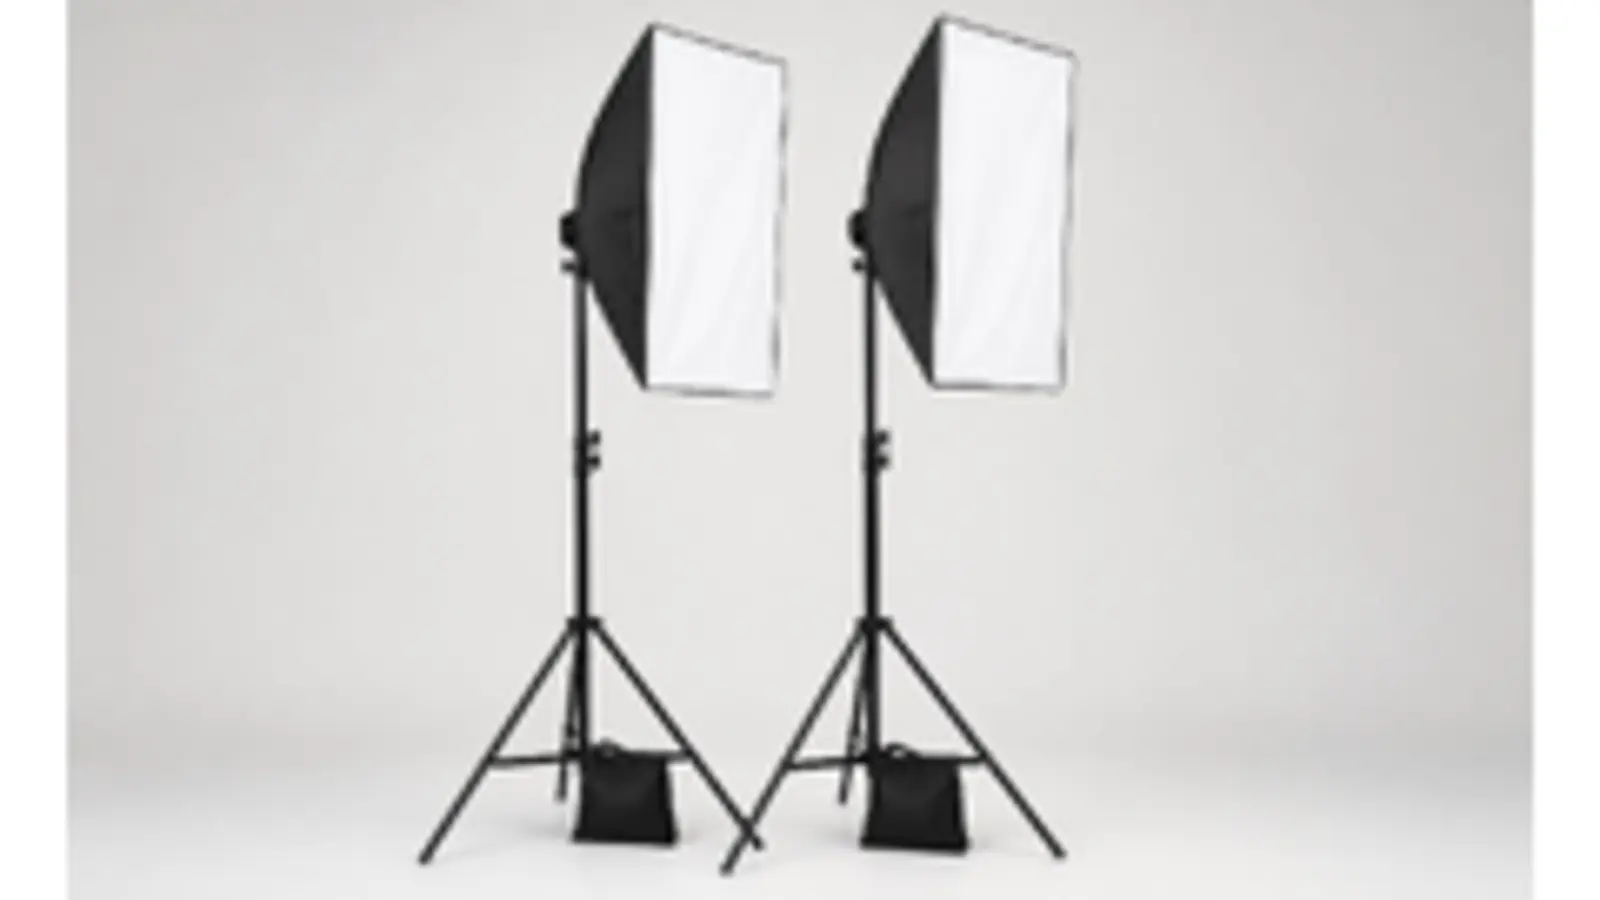
- Face a window: natural light from the front is usually easier than overhead indoor lighting.
- Keep both sides of the face even: if one side is dark, move the setup or add a second soft light.
- Do not wear a white top against a white background: the shoulders can blend into the backdrop.
For strict white or off-white routes, start with the passport photo background color guide. For a messy room, patterned wall, or product-style backdrop, use Passlens background removal only as a cleanup step. The final image still needs to look like a normal document photo, not an edited portrait.
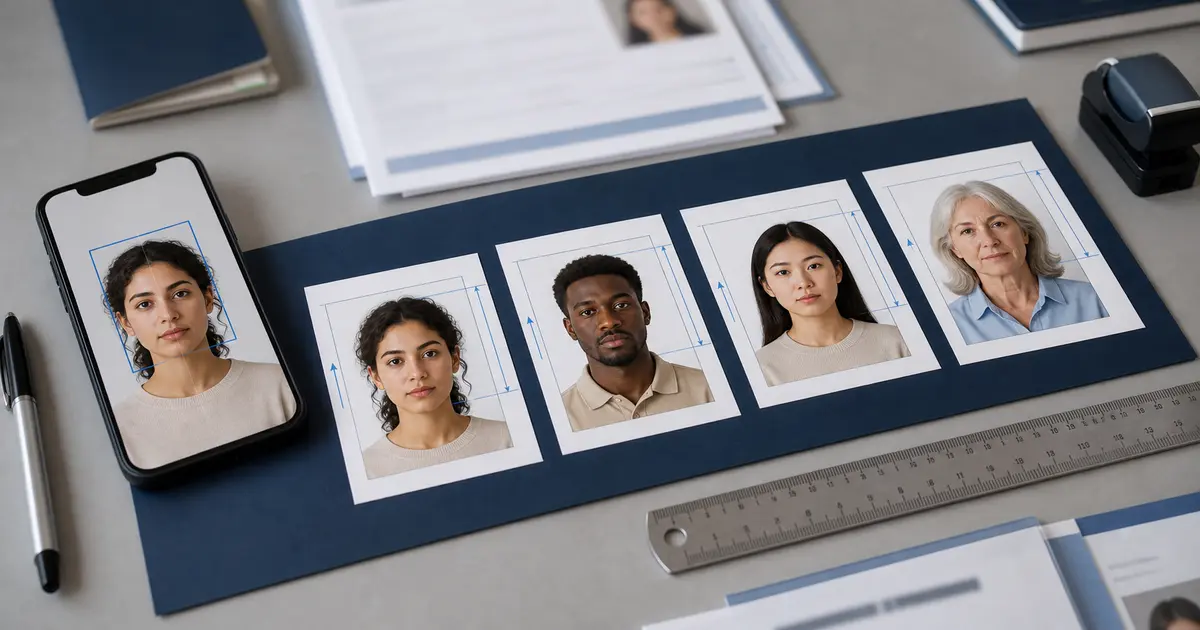
Pose, Framing, and the Source Photo
The source photo should be wider than the final passport crop. Include the head, shoulders, and upper body so the final crop can be adjusted without stretching or inventing missing pixels.
- Stand or sit straight with shoulders facing the camera.
- Look into the camera lens, not at the phone screen.
- Keep the head level. Do not tilt, rotate, raise, or lower the chin.
- Use a neutral expression unless the issuing authority allows a natural closed-mouth smile.
- Keep both eyes open and visible.
- Move hair away from the eyes. Some countries also care about ears, so check the country page before export.
- Take 8 to 12 photos and keep the sharpest one. Do not rely on a single shot.
Use country rules, not memory
The U.S. 2x2 crop, UK digital photo flow, Ireland Passport Online route, and many 35 x 45 mm countries do not ask for the same finished file. Use the passport photo size guide or the exact country page before exporting.
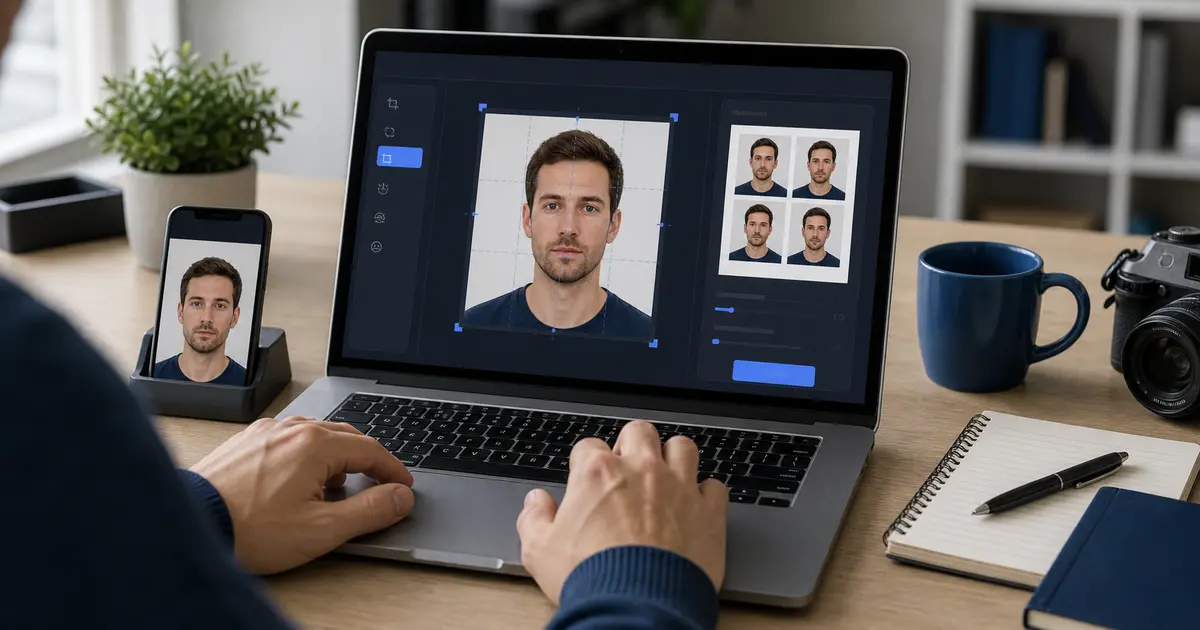
Crop and Export the Phone Photo in Passlens
Once the capture is clean, use Passlens for the part that a phone gallery cannot do reliably: matching the country preset, checking head placement, preparing a digital file, and building a print sheet at real scale.
- Open the app: start at Passlens or use the free passport photo maker guide if you want the full walkthrough.
- Choose the country and document type: do this before cropping so the guide overlay uses the right dimensions.
- Upload the original phone photo: avoid screenshots or messenger-compressed copies.
- Adjust the crop: keep the head, chin, eyes, and shoulders inside the guide for that document route.
- Clean the background only if needed: use a plain authority-appropriate color and review the edge around hair and shoulders.
- Export for the real destination: choose a digital file for upload-first routes or a print layout for paper submissions.
Passlens is privacy-first for the normal browser workflow. Your source portrait stays on your device unless you choose an enhanced processing option for that request.
Digital Upload or Printed Photo?
Do not treat digital and printed passport photos as the same output. A phone photo can start both workflows, but the export checks are different.
| Output | What to check | Useful Passlens guide |
|---|---|---|
| Digital upload | Pixel size, file type, file size, color, and whether the portal crops after upload | Digital passport photo requirements |
| Printed photo | Physical dimensions, head height, photo paper, and printer scaling at 100% | How to print passport photos at home |
| 4x6, A4, or Letter sheet | Copies per sheet, cut marks, margins, and true-scale printing | Passport and ID print layout guide |
| 2x2 inch photo | 51 x 51 mm outer size, U.S. head-size range, and square export | 2x2 passport photo size guide |
If you print at home, print one test sheet first and measure it with a ruler. The most common print mistake is leaving the printer on “fit to page,” which changes a correct passport crop into the wrong physical size.
Passport Photo at Home Failure Checks
Run these passport photo at home failure checks before you submit, upload, or print. They catch the usual problems while the setup is still easy to retake.
| Problem | What it looks like | Fix |
|---|---|---|
| Blur | Eyes, hair, or shirt edge look soft when zoomed in | Retake with more light and a steadier phone |
| Wall shadow | Dark outline behind the head or shoulders | Move farther from the wall and light from the front |
| Face shadow | One side of the face is darker | Move closer to a window or add a soft fill light |
| Bad angle | Ears or jaw do not look symmetrical | Put the phone at eye level and shoot straight on |
| White shirt on white wall | Shoulders disappear into the background | Wear a darker plain top |
| Wrong output | Looks fine on screen but prints too small or too large | Print at 100% scale and measure before cutting |
| Over-edited image | Skin looks smoothed, background edge looks fake, or face shape changed | Go back to the original and export a cleaner version |
When in doubt, retake the source photo. Retaking is faster than trying to rescue a noisy, shadowed, or badly angled file after the crop is already tight.
Country Notes for At-Home Phone Photos
The phone setup is mostly universal. The final rule is not. Use these examples to avoid assuming that one passport photo answer applies everywhere.
| Route | At-home note | Guide |
|---|---|---|
| United States passport | A friend or family member can take the photo, but the final paper photo is 2 x 2 inches and must use a white or off-white background. | U.S. passport photo guide |
| U.S. online renewal | The upload route accepts common phone file formats, but the file still needs to meet the digital upload checks. | Online passport renewal photo upload guide |
| UK passport | GOV.UK says a photo can be taken on your own device, but the applicant should not crop the source image before the application flow. | UK passport photo guide |
| Ireland Passport Online | Ireland allows a photo taken at home by another person, but not a selfie or webcam photo. | Ireland passport photo guide |
| 35 x 45 mm countries | The outer size repeats often, but background, head height, and upload rules still vary. | 35 x 45 photo size guide |
FAQ
Can I use a phone photo for a passport photo?
Often yes, but not as a selfie. Use another person to take the photo, keep the phone level, include enough upper body for the crop, and check the exact country route before export.
Should I crop the phone photo before uploading it to Passlens?
No. Upload the original or a lightly selected source image with space around the head and shoulders. Crop after choosing the country preset.
Can I use background removal for a passport photo taken at home?
Use it only to create a clean plain background when the issuing authority allows that kind of final appearance. Review hair and shoulder edges carefully, and do not alter the face.
Is a passport photo app better than a browser tool?
A native app can be convenient for capture, but a browser tool is often easier for reviewing, printing, and moving between phone and desktop. The important part is the final crop, file, and print scale, not the app category.