Passport Photo Crop Tool Guide: Head Size, Framing, and Exact Export Control (2026)
Learn what to compare in a passport photo crop tool: head size guidance, framing controls, background context, and export handling for digital and print outputs.
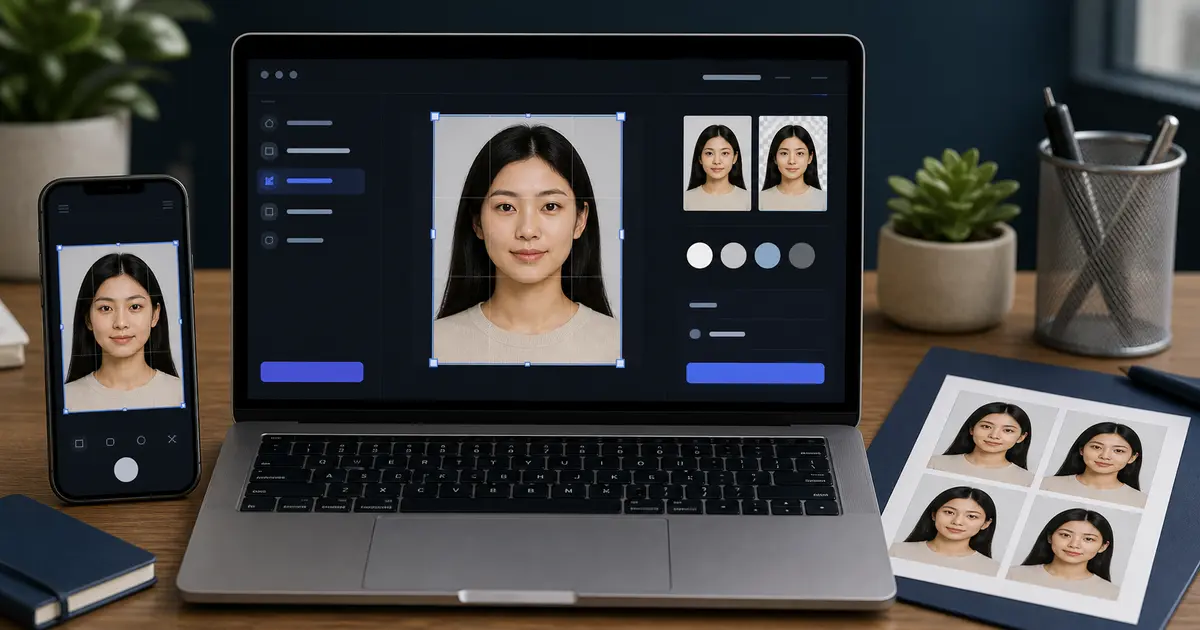
Why a passport photo crop tool is different from a normal crop box
A normal crop box helps users frame an image aesthetically. A passport photo crop tool helps them frame it predictably for a document workflow. That difference matters because most document-photo mistakes happen inside the frame, not outside it. The background may be acceptable and the file may export correctly, but if the face is still too small, too high, or too close to one edge, the result can still feel wrong before it ever gets printed or uploaded.
This is a strong commercial-intent topic because the user is actively evaluating software behavior. They are looking for a crop tool that does not just cut the image, but helps them trust the framing. That is firmly in the non-YMYL tool-comparison lane.
If you want the shortest crop-first route, open the passport photo crop tool. If you are building the full file now, use the passport photo maker. For U.S. passport or square-upload routes, switch to the US passport photo maker or the 600x600 passport photo maker. If the crop is done and you only need a last review, use the passport photo checker.
If the crop still feels wrong because the face sits too high, too low, or slightly off centre, pair this page with the face adjustment guide. If you just want to finish the file, go back to the passport photo maker or the passport photo checker.
What to compare in a passport photo crop tool
- Preset-aware frame: the crop should reflect a document format, not just a random aspect ratio.
- Head-size feedback: users need help spotting when the face is visually too small or too large.
- Easy repositioning: fine movement matters more than flashy editing gestures.
- Background context: the crop review should not hide whether hair and shoulders still read cleanly against the background.
- Output-linked review: the crop step should make sense in the same workflow that later exports print or digital files.
Manual crop versus assisted crop
Some users prefer a fully manual crop because it feels direct. Others want an assisted crop with face guidance or auto-fit behavior because it reduces the guesswork. The best tools support both mindsets. Manual adjustment is useful for fine control. Assisted framing is useful when the user needs a good starting point quickly and is not confident judging head placement by eye.
What matters is that assistance should improve review, not replace it. A crop tool that makes the user trust an invisible automatic decision without showing the framing clearly is not actually solving the confidence problem. Good crop tooling keeps the final judgment visible.
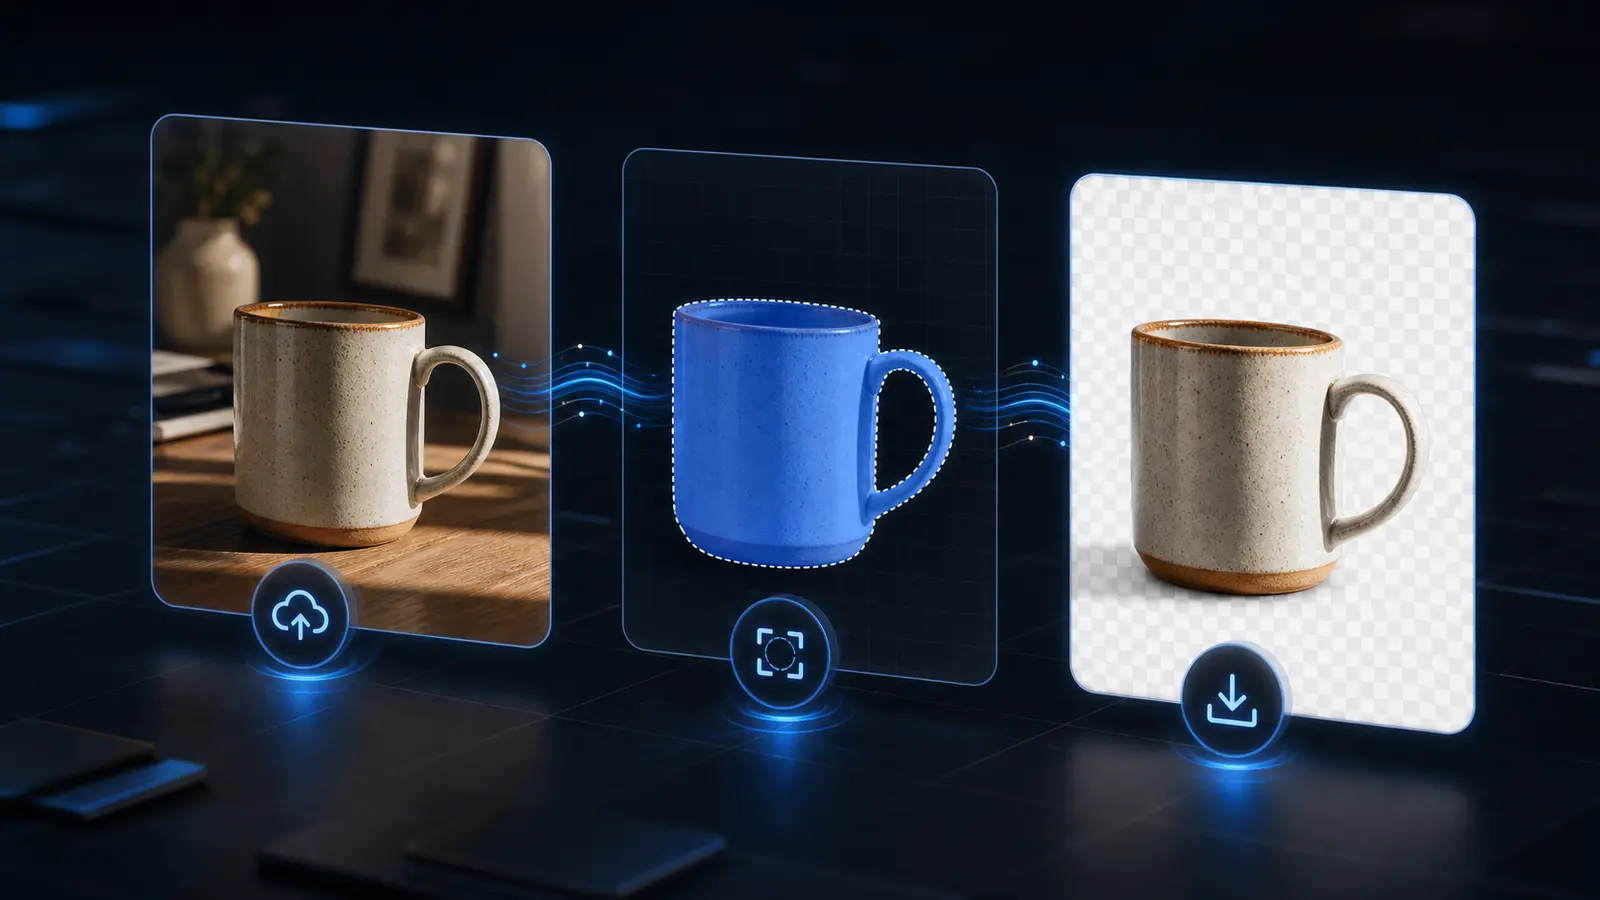
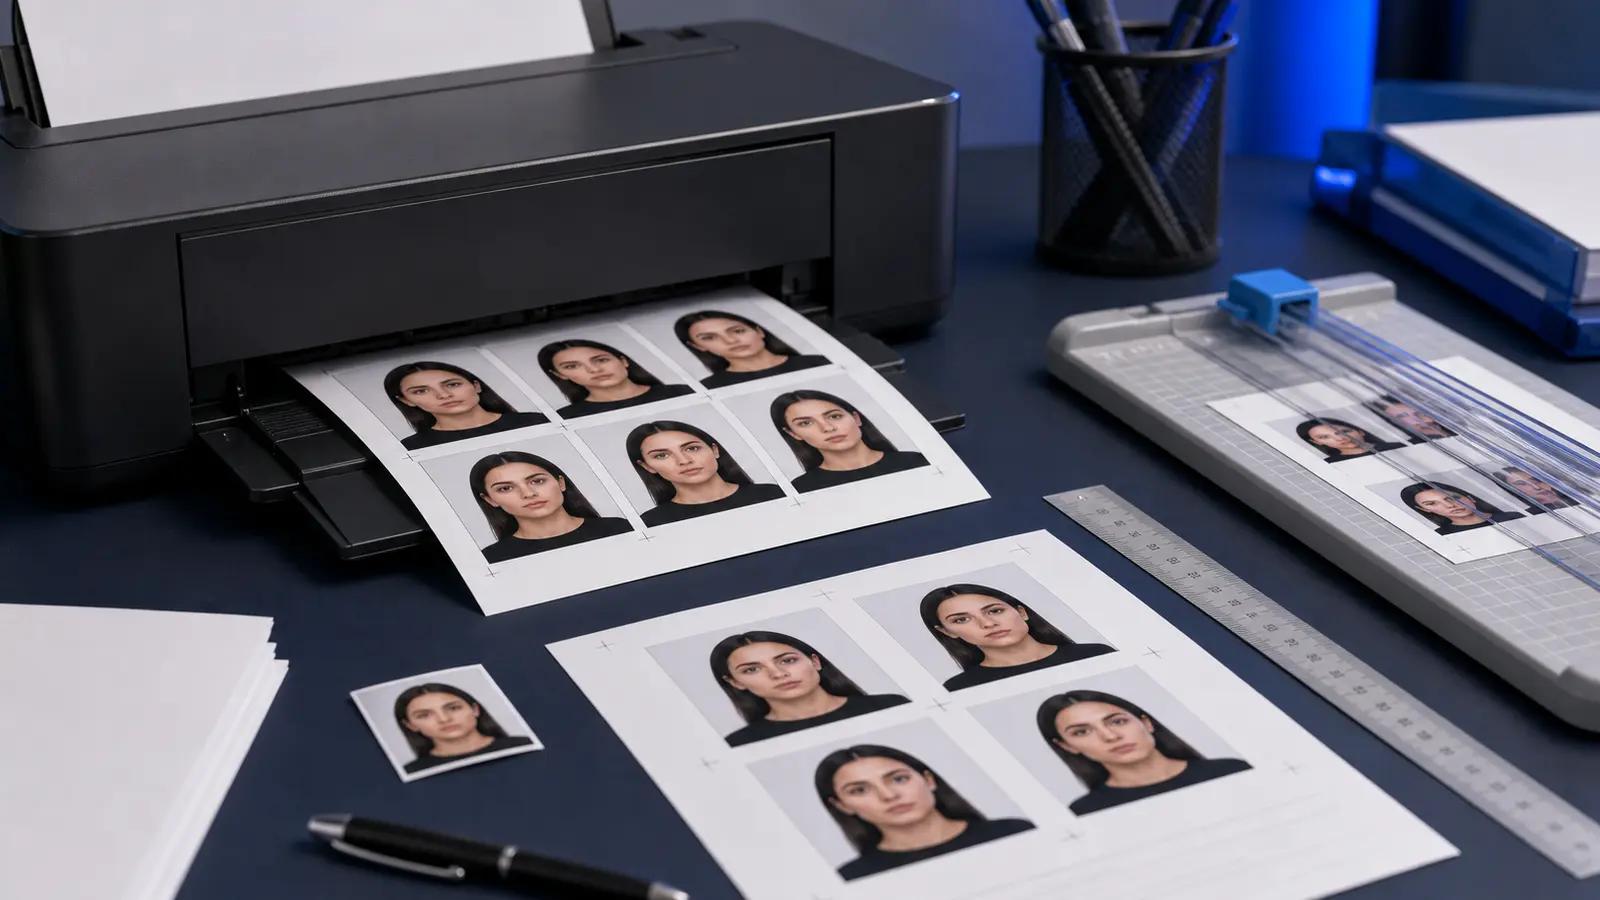
Crop tools should work for both digital and print outputs
One weakness in many passport crop tools is that they feel disconnected from the final output. The crop may look fine on screen, but the user still does not know how it will behave when exported as a digital file or placed on a print sheet. A better crop workflow is connected end-to-end: crop, review, then export into the actual destination format.
That is another reason browser-first document tools often beat generic editors. The crop step is not isolated. It feeds directly into the layout and output path the user actually needs next.